Well, I've completed my first child's Halloween costume. I am SO happy with how it turned out! This is for my nephew, Joaquin, who LOVES Angry Birds. He wanted to have the green angry bird. So, between this picture...
And the tutorial here, I was able to put it together. In the tutorial, I followed the directions for the black angry bird. This costume will fit a child, size 6.
It was actually super easy and only took me a couple of hours to put together!
You will need these supplies:
1 yd. of green felt (70"-72" bolt)
1 yd. of matching cotton (I chose a lighter green color)
Sheets of felt in dark green, light green, black, white, & yellow
Matching thread
1 bag of pillow stuffing
Measuring Tool
Scissors
Hot Glue Gun
Sewing Machine
I started by cutting my felt into two pieces. Then, take a single piece and fold it in quarters. Measure 11" from the center (I originally measured 11.5" but scaled it back to 11"). It's easier as a guide to make a mark along each side, as well as from the center.
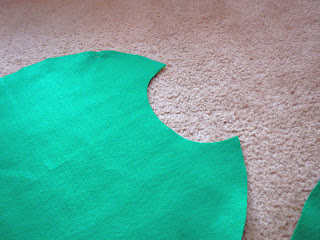
Cut out your shape so you will unfold it to have a circle.
Do the same for your cotton pieces. These will be the inside of the costume.
Next, you want to cut out the pieces for the face. I didn't have a pattern for the pieces, I just eyeballed the picture and made my own.
Place them where you want them, and pin them in place.
Next you want to cut a whole for the neck. I also just eyeballed this. Make sure to have your felt piece and cotton piece together, so the whole is the same.
The next step is to sew your felt and cotton pieces together.
Be sure to leave about a 6" space, to turn inside out, then stuff.
Once you've stuffed your piece, take your hot glue gun and glue the opening closed.
Here is what they look like, after sewing and stuffing. The next step is to glue all of your pieces on.
Ta da!! And there you have your angry bird! See, wasn't that easy?
The last step is to put them together but that step will come later, as I have to see where the arm holes need to go, and my nephew is up in New York. But, I will just be sewing from the neck to the arm hole, then from the bottom of the arm hole, just down a few inches, leaving an opening for the legs.
Happy crafting!


That is so cute, great job!!
ReplyDelete